For disks with disabled TRIM, the forecast is more optimistic. Successful Data Recovery Services from them is possible in the absolute majority of cases, if we are not talking about physical damage or a complete failure of the media, when the device is not found in the list of available connected media.
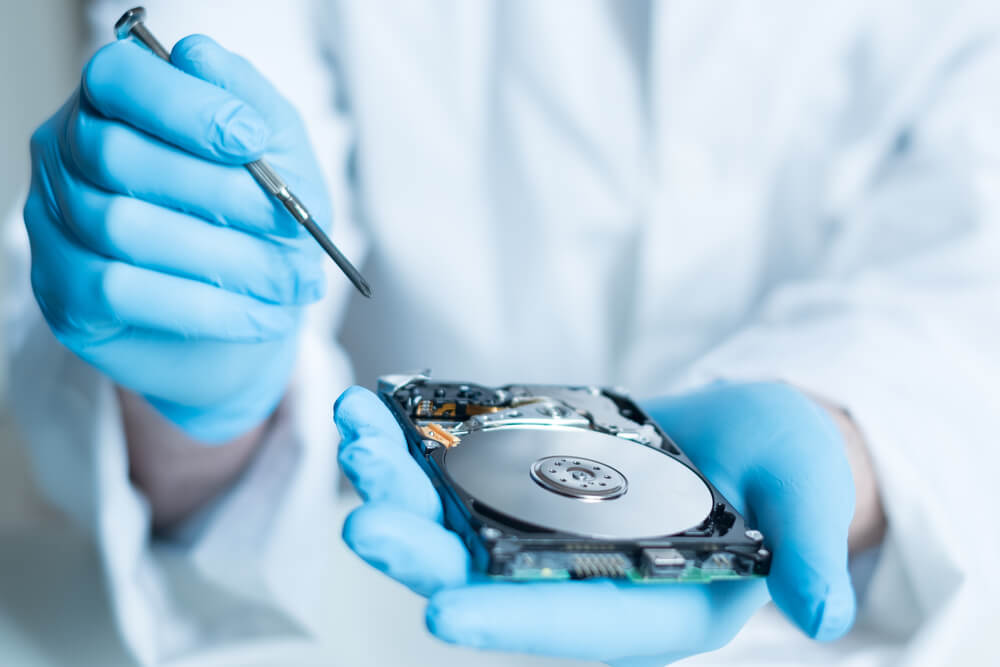
The free version of Data Recovery Services allows you to immediately see if the utility will help in your particular situation. It remains only to get the key and save your files. Let’s take a look at the step-by-step process of recovering from an SSD using Recovery.
1. Download the Recovery program (important! do not install it on the disk from which you will recover information) and run it.
2. Select the media or disk partition from which you want to recover data.
3. Select the type of scan (fast for recently deleted files, full analysis for disks with a damaged file system and other serious problems).
4. We are waiting for the completion of the analysis of the file system.
5. Select and restore the necessary files.
Why is Recovery useful?
- The program is compatible with all versions of Windows;
- Has a familiar intuitive interface;
- The recovery wizard allows even novice users to work with the program;
- Deep scanning algorithms help recover data even if the system is seriously damaged;
- The program has convenient filters and search by recovery results;
- The contents of the files can be seen in the preview window before saving;
- All types of data export are available.
Checking the connection of the SSD drive :
Let’s analyze a few more situations that disrupt the operation of the SSD, and the ways to fix them. One of the reasons, it would seem, is obvious, and in the event of failures, it must be remembered first of all. Users think about it almost at the last moment. We are talking about the Wikipedia correct connection of the device to the computer. If this is the case, the algorithm of actions is simple:
- We turn off the computer.
- Disconnect the SATA cable from the SSD without turning off the power.
- We turn on the computer and start the BIOS.
- We leave the computer on and do not take any action for half an hour, then turn it off.
- Reconnect the SATA cable to the SSD.
- We turn on the computer and start the BIOS.
- We check whether the disks are loaded in the correct order. We start Windows.
Such an algorithm of actions always helps to troubleshoot if the problem is in the wrong connection of the device. If the problem persists, we continue to look for the cause.